Android AutoCompleteTextView completes the word based on the reserved words, so no need to write all the characters of the word.
Android AutoCompleteTextView is a editable text field, it displays a list of suggestions in a drop down menu from which user can select only one suggestion or value.
Android AutoCompleteTextView is the subclass of EditText class. The MultiAutoCompleteTextView is the subclass of AutoCompleteTextView class.
Android AutoCompleteTextView Example
In this example, we are displaying the programming languages in the autocompletetextview. All the programming languages are stored in string array. We are using the ArrayAdapter class to display the array content.
Let's see the simple example of autocompletetextview in android.
activity_main.xml
Drag the AutoCompleteTextView and TextView from the pallete, now the activity_main.xml file will like this:
File: activity_main.xml
- <RelativeLayout xmlns:androclass="http://schemas.android.com/apk/res/android"
- xmlns:tools="http://schemas.android.com/tools"
- android:layout_width="match_parent"
- android:layout_height="match_parent"
- tools:context=".MainActivity" >
-
- <TextView
- android:id="@+id/textView1"
- android:layout_width="wrap_content"
- android:layout_height="wrap_content"
- android:layout_alignParentLeft="true"
- android:layout_alignParentTop="true"
- android:layout_marginTop="15dp"
- android:text="@string/what_is_your_favourite_programming_language_" />
-
- <AutoCompleteTextView
- android:id="@+id/autoCompleteTextView1"
- android:layout_width="wrap_content"
- android:layout_height="wrap_content"
- android:layout_alignParentLeft="true"
- android:layout_below="@+id/textView1"
- android:layout_marginLeft="36dp"
- android:layout_marginTop="17dp"
- android:ems="10"
- android:text="">
-
- </AutoCompleteTextView>
-
- </RelativeLayout>
Activity class
Let's write the code of AutoCompleteTextView.
File: MainActivity.java
- package com.example.autocompletetextview;
-
- import android.os.Bundle;
- import android.app.Activity;
- import android.graphics.Color;
- import android.view.Menu;
- import android.widget.ArrayAdapter;
- import android.widget.AutoCompleteTextView;
-
- public class MainActivity extends Activity {
- String[] language ={"C","C++","Java",".NET","iPhone","Android","ASP.NET","PHP"};
- @Override
- protected void onCreate(Bundle savedInstanceState) {
- super.onCreate(savedInstanceState);
- setContentView(R.layout.activity_main);
-
-
- ArrayAdapter<String> adapter = new ArrayAdapter<String>
- (this,android.R.layout.select_dialog_item,language);
-
- AutoCompleteTextView actv= (AutoCompleteTextView)findViewById(R.id.autoCompleteTextView1);
- actv.setThreshold(1);
- actv.setAdapter(adapter);
- actv.setTextColor(Color.RED);
-
- }
-
- @Override
- public boolean onCreateOptionsMenu(Menu menu) {
-
- getMenuInflater().inflate(R.menu.activity_main, menu);
- return true;
- }
-
- }
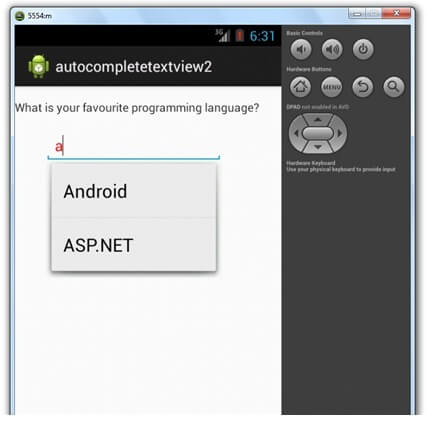
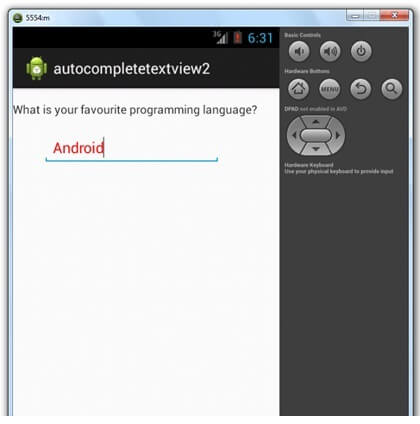
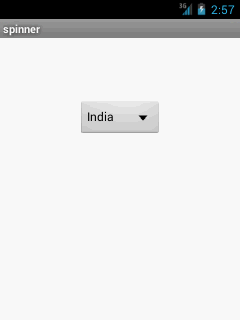
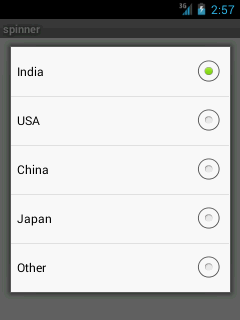
Output: